
Learn how to use Pastiche and Newton for Adobe After Effects to create this dynamic text or logo reveal.
We will use Pastiche to move hundreds of layers to form a number. Then we’ll use Newton’s magnetic feature to animate the layers and make them interact with each other!
This project was one of the first to use both Pastiche and Newton plugins in After Effects. We explain how we combined the features of these two tools to create dynamic visual effects.
Get Newton and Pastiche : http://aescripts.com/mobo-motion-bundle/
Want to ask something? Contact us or join our Discord server.
The animation consists of three main parts:
We won’t cover the first part in detail, as it simply involves duplicating and arranging circles. Instead, we’ll focus on how we used Pastiche and Newton to achieve the final effect.
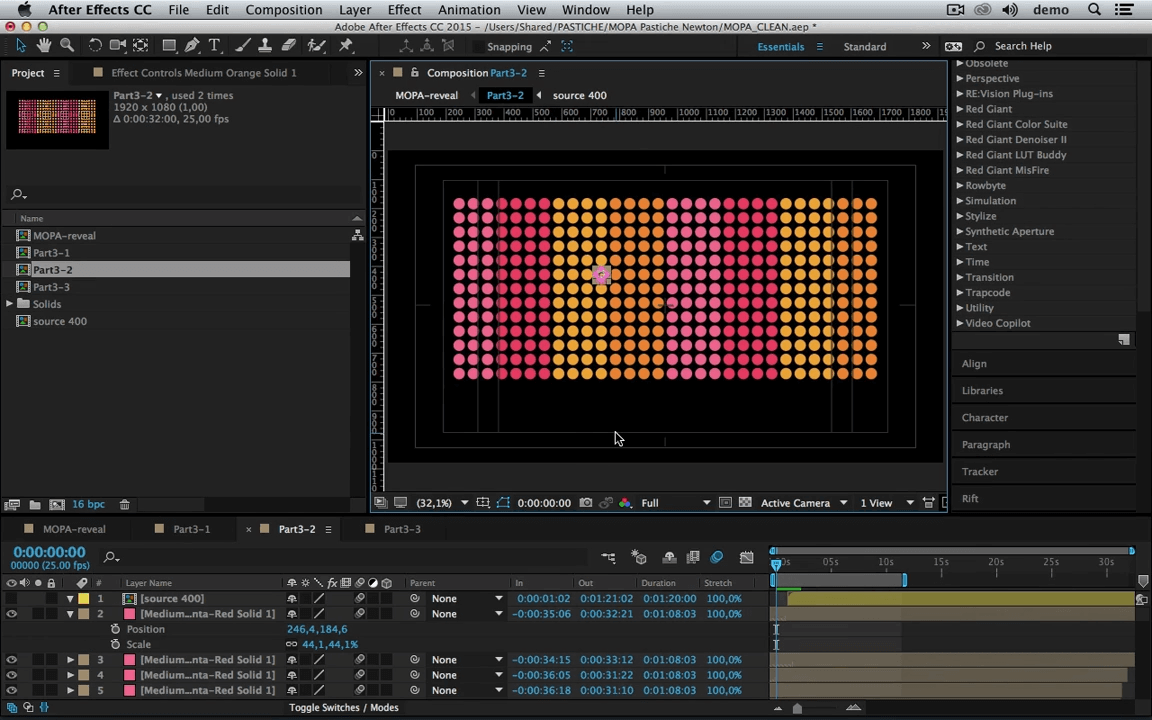
The goal of this step is to morph scattered circles into a text shape using Pastiche.
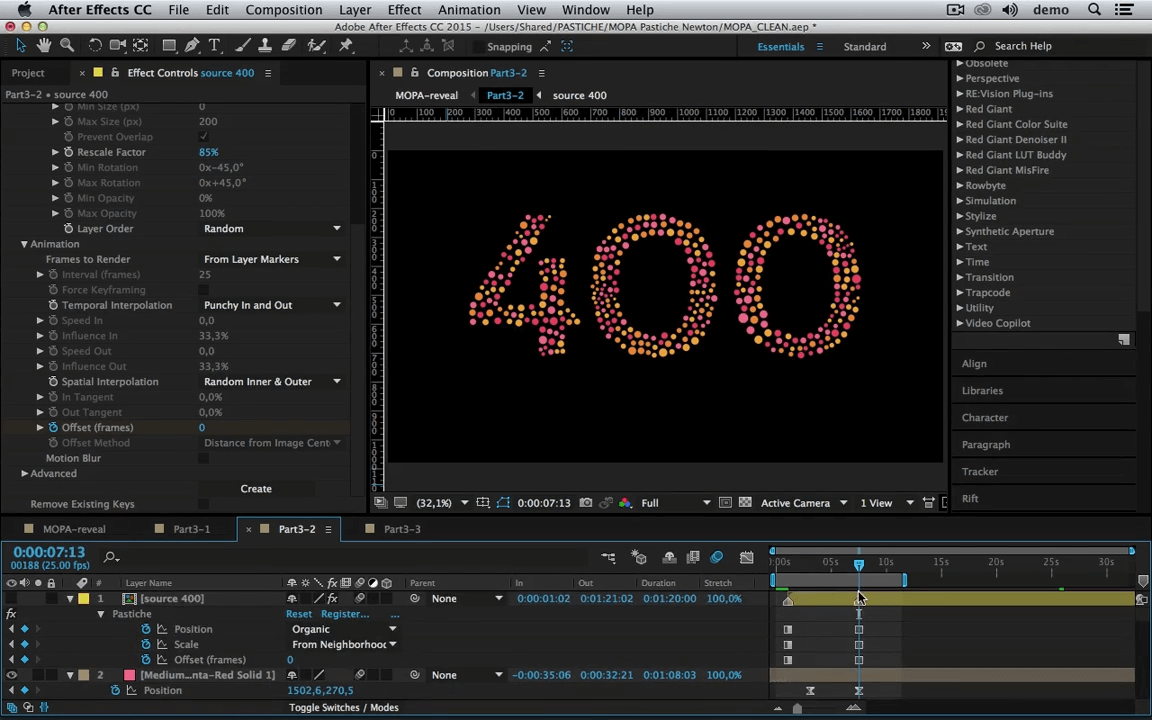
After generating keyframes, we achieved an organic transformation effect where circles smoothly move into place, mimicking a natural motion.
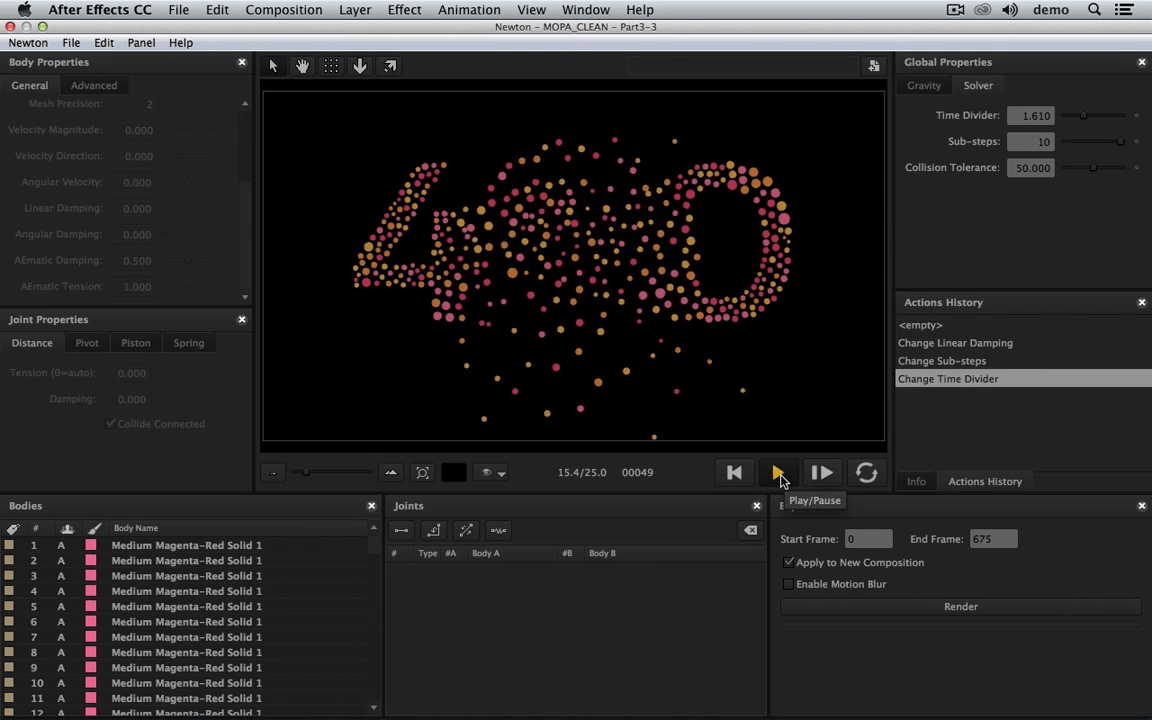
Next, we use Newton to create a repulsion effect where circles spread outward from the center.
Once the Newton simulation is complete, we render the animation back into After Effects.
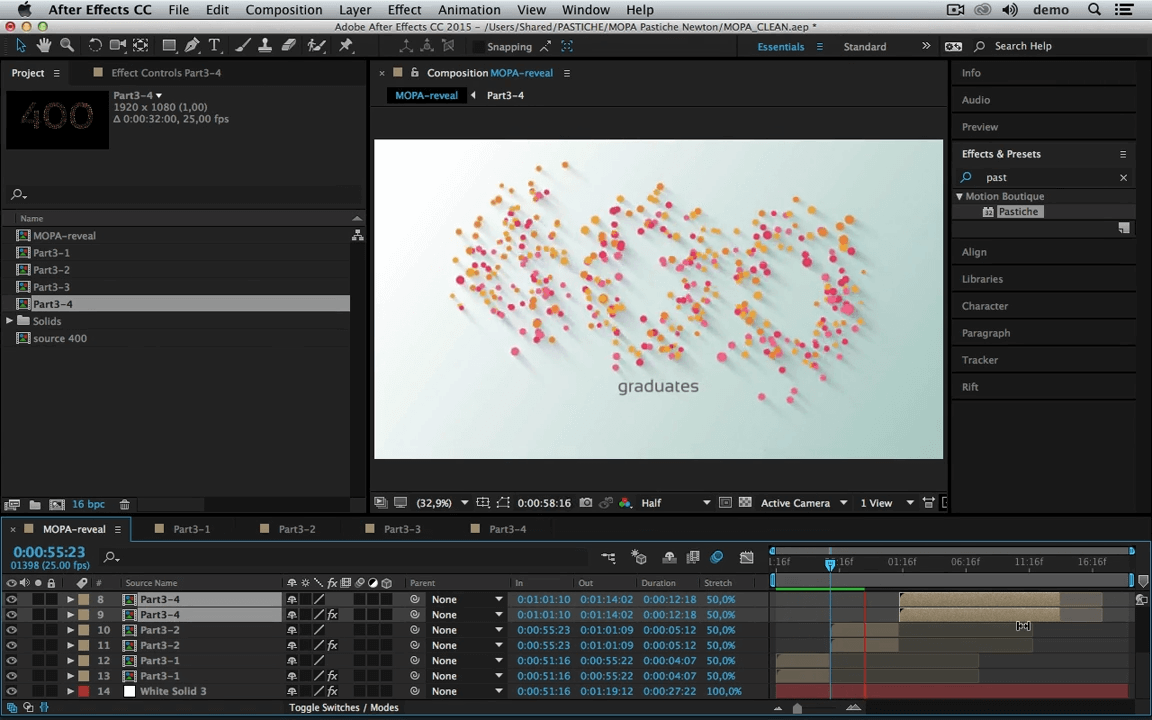
The result? A dynamic, physics-driven typography animation achieved by combining Pastiche for object placement and Newton for motion simulation.
This project demonstrated how Pastiche and Newton can work together to create complex motion graphics efficiently. By leveraging these tools, we achieved organic transformations and physics-based movements with minimal manual animation.
Want to try it yourself? Experiment with different settings and see how you can create unique variations!
Thanks for reading! Stay tuned for more motion design breakdowns.