
➡️ Get Newton and Solidity (part of the set “LayerGenerator”)
Create a Washing Machine Animation with Newton
Welcome to our new tutorial for Newton, the physics engine for Adobe After Effects! In this classic case of animation that uses physics intensely, you'll learn how to fill a shape, turn it into a washing machine, and then drain it. Follow these steps to achieve a dynamic and realistic animation:
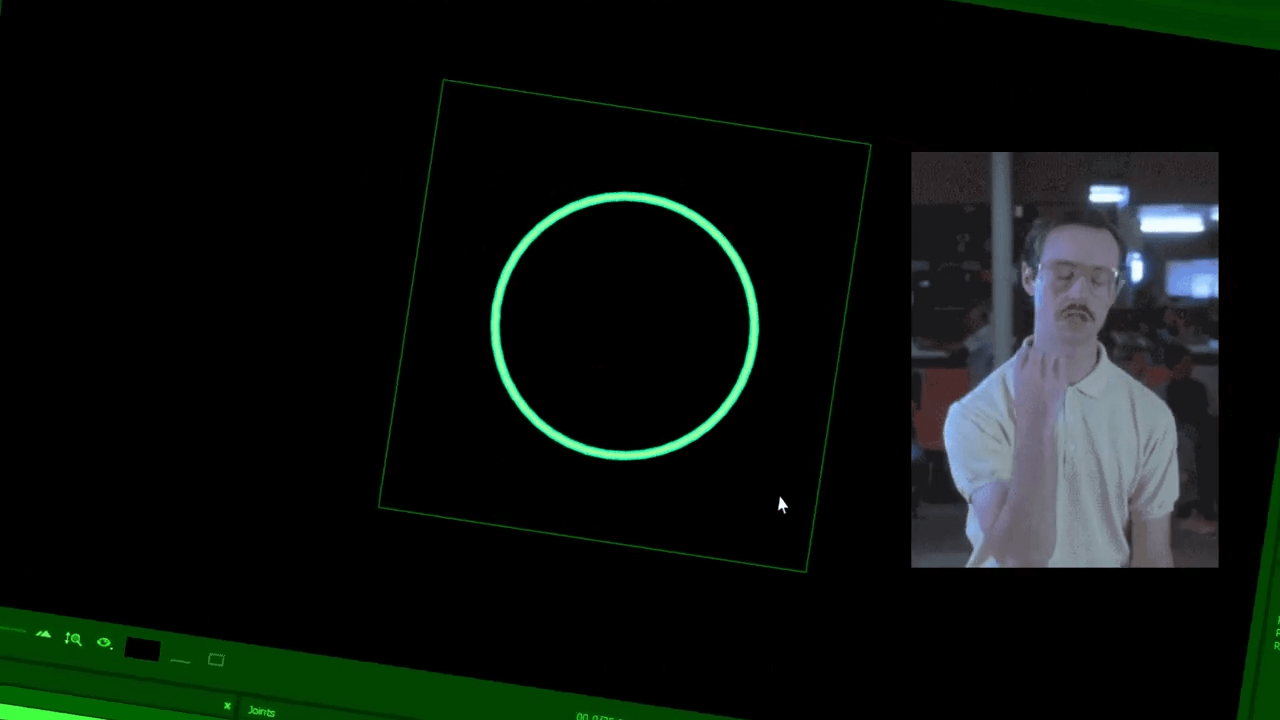
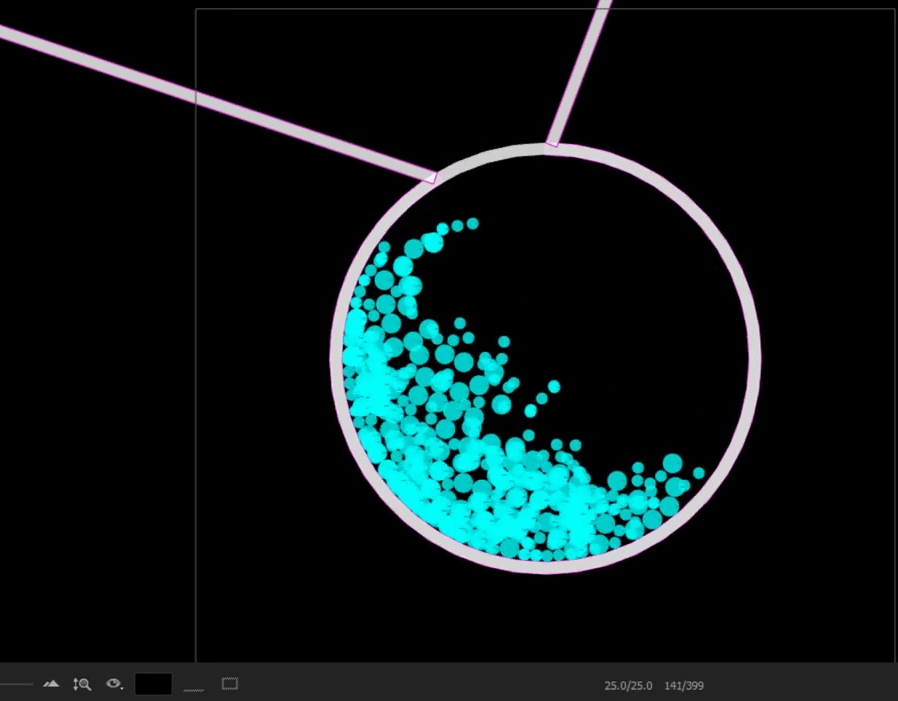
Start by creating your washing machine drum using a shape layer in After Effects. Give it an outline but no fill. If you send this circle shape to Newton, it will be considered a filled circle because it's a "perfect" circle for Newton, which will optimize this shape.
To force it to be empty, slightly modify its appearance by changing the scale on one axis. Now, Newton recognizes it as an empty circle with an outline. Increase the Mesh Precision for better results.
Create many small circles of different sizes to fill your washing machine drum. Import these objects into Newton.
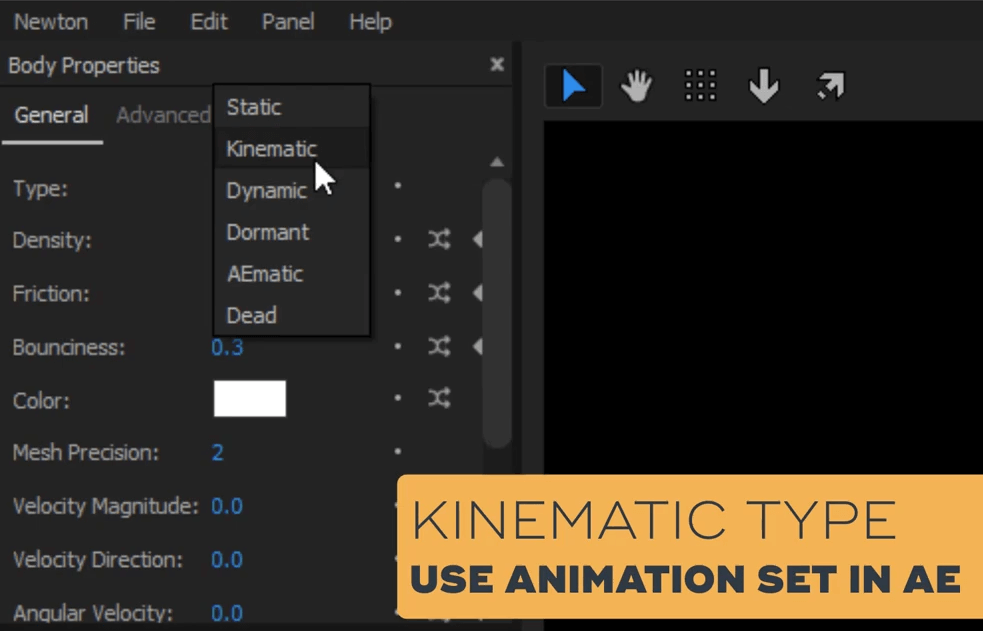
Animate your drum to rotate, starting at a certain point, rotating, and then stopping. In Newton, set your drum to Kinematic so it follows the animation from After Effects until the last keyframe, then becomes a dynamic object.
Duplicate the last rotation keyframe to ensure your object maintains its position until the end of the animation.
Use the Randomizer to place the small objects randomly. Increase the Sub-Steps for better precision in your animation. Use the Randomizer again to mix the collision groups, giving more depth to your objects.
Don't forget to set Group A back to "Collide With," or your objects won't interact with the drum.

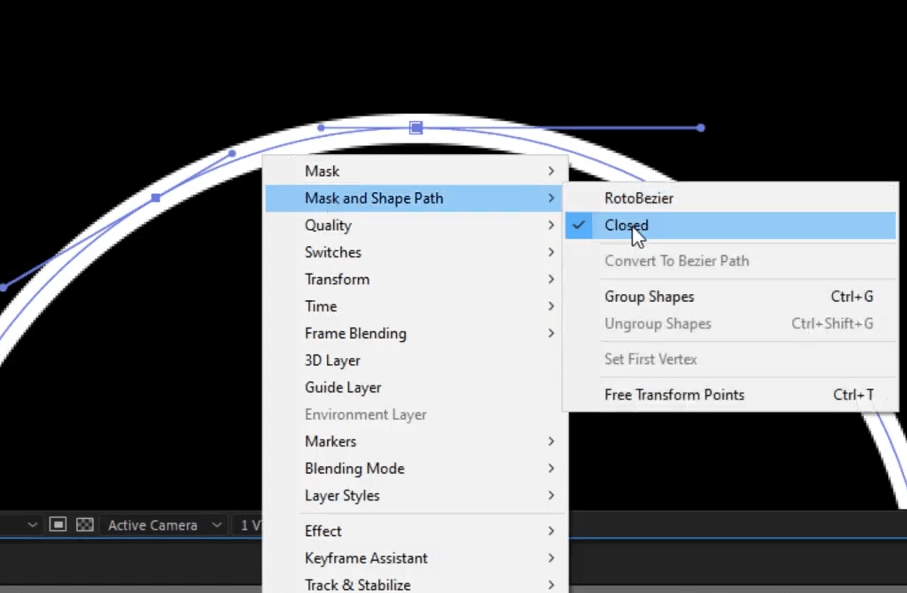
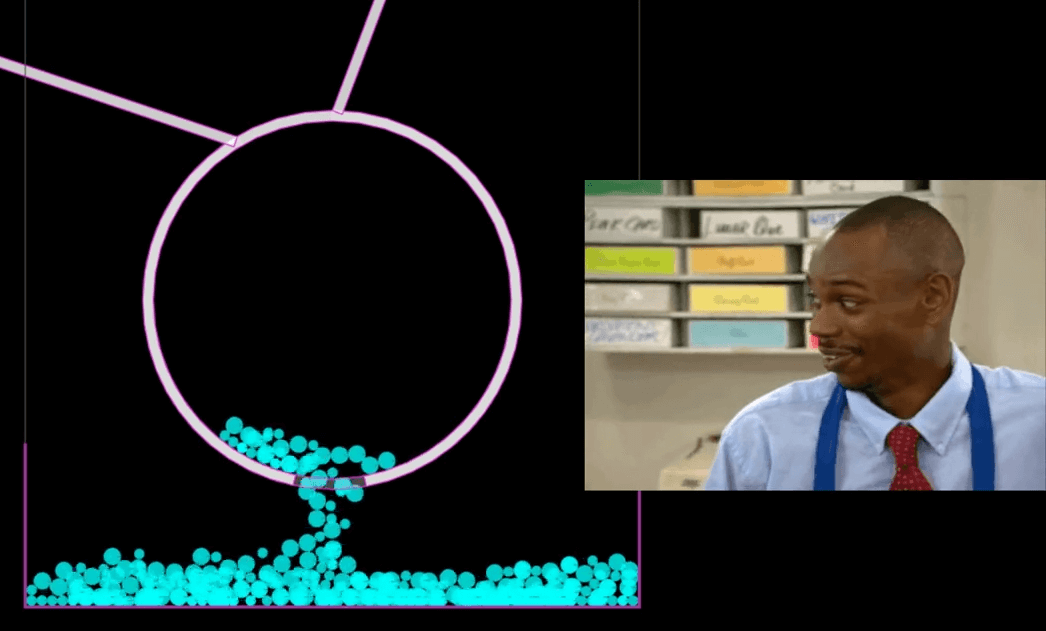
In After Effects, duplicate the first drum and edit the path to create an open drum. Chain these two shapes in the timeline: open drum, then closed drum.
Back in Newton, copy the settings from the closed drum and apply them to the open drum.
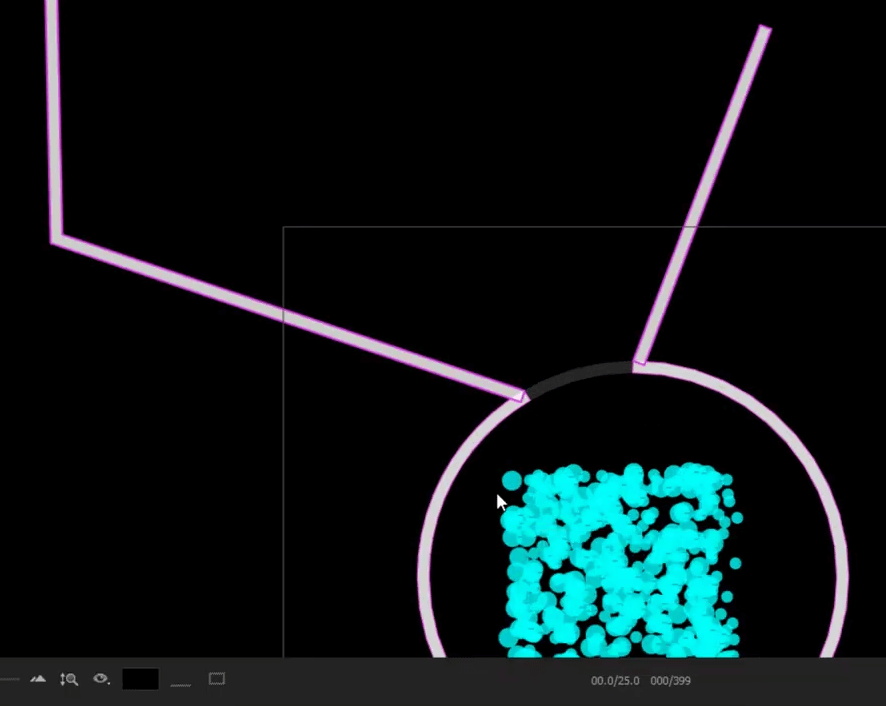
Create a funnel using a shape layer in After Effects and synchronize it with the open drum. In Newton, set the funnel to Static and place your objects above the funnel.
You should now have a fairly complete animation, but you might notice that when the drum stops rotating, it doesn't catch the small objects effectively. Increase the friction of your drum and fix the rotation of your small objects.
In After Effects, create a new open drum at the bottom and add a basin to collect the objects. In Newton, copy and paste the settings from the drum and set the basin to Static.
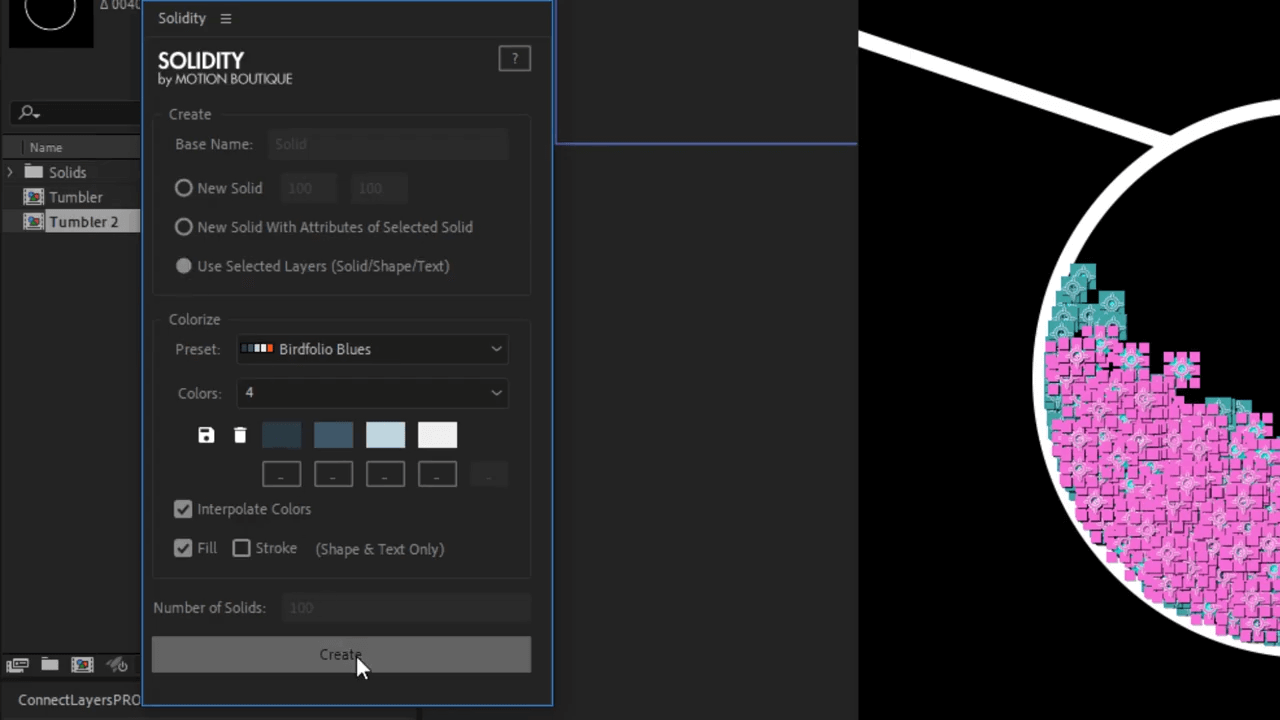
Your simulation is now complete! Render your animation and return to After Effects to finalize the design using Solidity to colorize your objects easily.
That's it! You've successfully created a dynamic washing machine animation using Newton. Experiment with different settings and effects to create unique and captivating animations. Stay tuned for more tutorials and updates.
Follow us on social media for the latest tips and tricks on using Newton and other After Effects plugins. Happy animating!
Want to ask something? Contact us or join our Discord server.