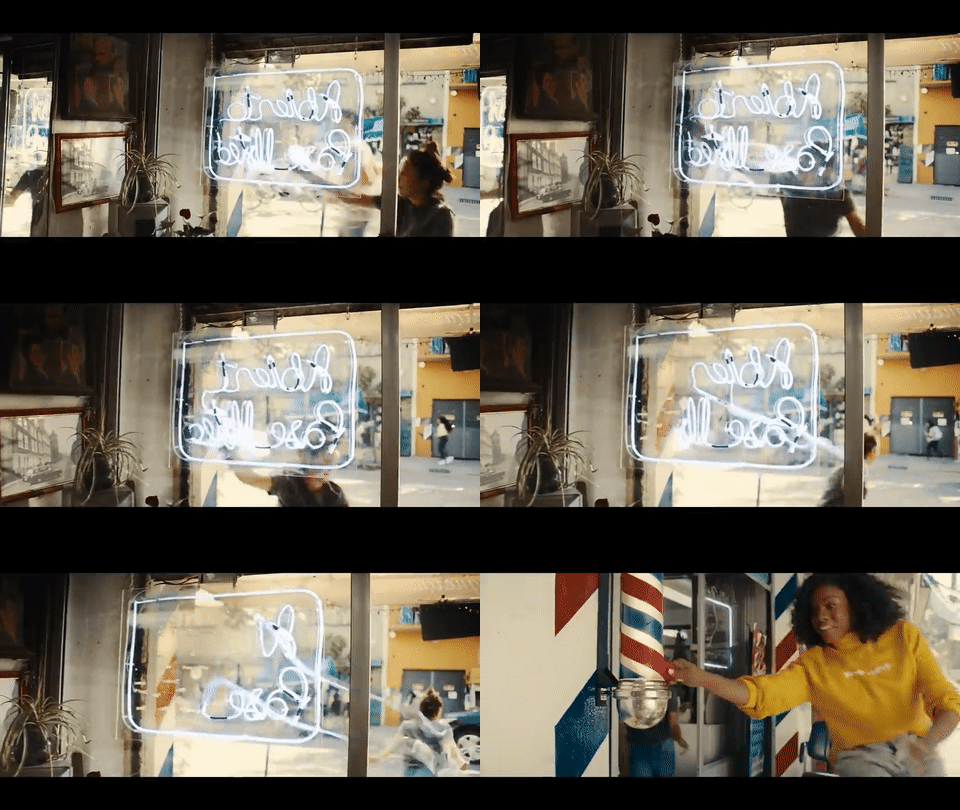

“Hello, is it possible to create the “unraveling” effect on a neon sign that you see at :47 of this video: https://youtu.be/BaLHthRsqQk&t=0m47s “

Well, yeah! It’s possible and here’s how!
Download our tools: Newton, ConnectLayersPRO and MOBO_Utils
You're not alone if you need help! Open a support ticket or join our Discord server!
I will also use other tools such as: Overlord, Deep Glow and Composite Brush (Note that you can do without these tools).
To kick things off, start by opening After Effects and creating a new composition. Import the video footage you captured. This will serve as the base for your animation.
The first step after creating your composition is to track and stabilize your footage. For this, you will use the Mocha plugin:
After stabilization, return to After Effects, and apply the CC Power Pin effect to deform your image, linking it to your tracking data for a stable shot.
Next, you’ll want to remove any green screen from your footage to ensure a clean background for your animation.
This step is crucial for isolating the subject in your video. Make sure to fine-tune the mask to achieve the best results.
Now, let’s switch gears and create neon text. Open Adobe Illustrator and use the brush tool to create your desired text.
Once your text path is complete, you can use the Overlord plugin to import it back into After Effects, (or simply import your Illustator file into AE and convert it to shape layers). This tool simplifies the transfer process, allowing you to maintain the integrity of your paths.
To achieve movement based on the vertices of your paths:
Now that your paths are set up, it’s time to animate them using Newton.
To prevent your objects from colliding unnecessarily, adjust the collision settings. Set the body type of most objects to dormant while ensuring that your hand object is kinematic to allow for movement.
With the animation set, it’s time to enhance your project. Use the Deep Glow plugin for added vibrancy. Duplicate your neon composition to achieve greater density in color.
To make your animation more engaging, animate the hue saturation of your letters. Use expressions to loop the color animations and offset them across different letters for a dynamic effect.
In this tutorial, we walked through the process of creating a dynamic unraveled shape animation in After Effects, utilizing various plugins to optimize your workflow. From stabilizing your footage to removing green screens, creating neon text, and animating with Newton, these techniques will undoubtedly elevate your motion graphics projects. Remember to experiment with different settings and effects to find what works best for your unique style.
Happy animating!
Thanks to the authors for those tutorials:
-Stabilize and reverse stabilization using Mocha and CC Power Pin: https://www.youtube.com/watch?v=X-y3nqpcCgo
-Light Wrap: https://www.youtube.com/watch?v=U8Mvxl89R5g
Cheers to Adam Plouff, Chris Vranos, the Plugin Everything team and Lloyd Alvarez