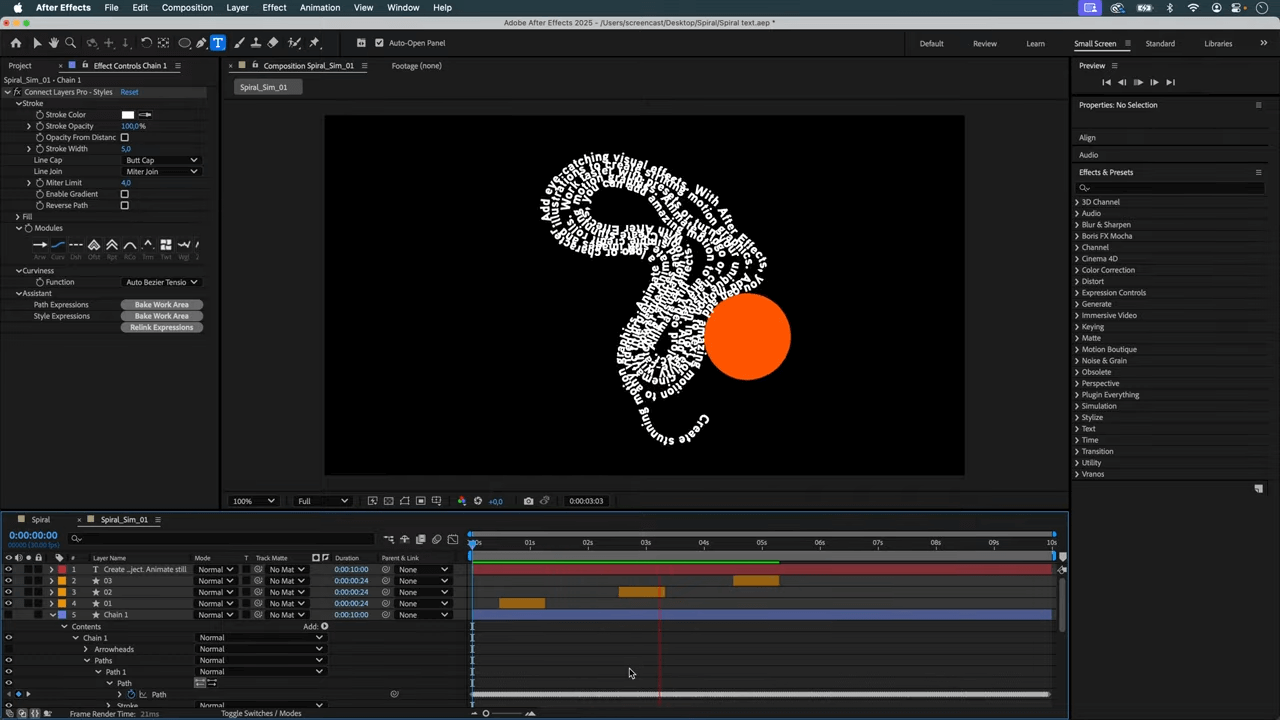
In this tutorial, we'll show you how to create a dynamic, deforming spiral of text.
📌 The trick here, to optimize performance and flexibility, is not to send the text to Newton, but to create an animated path, using Newton and ConnectLayerPRO, which will control the text animation.
This way, the simulation in Newton and AE runs smoothly, and the final comp will only contain 4 layers!
This tutorial takes its inspiration from this thread on Reddit.
Thanks to 7AJIN7.
Note that, for the sake of clarity, we'll use around 400 circles. The final version uses around 1000 circles. Newton can handle many more objects, especially since we're using circles which are optimized bodies. However, After Effects has its limits around 1000 layers.
More objects mean more precision, a larger spiral, and more text.
Get Newton for Adobe After Effects : https://aescripts.com/newton
Join our Discord server!
Step-by-Step Guide
Step 1: Set-up the spiral in Illustrator
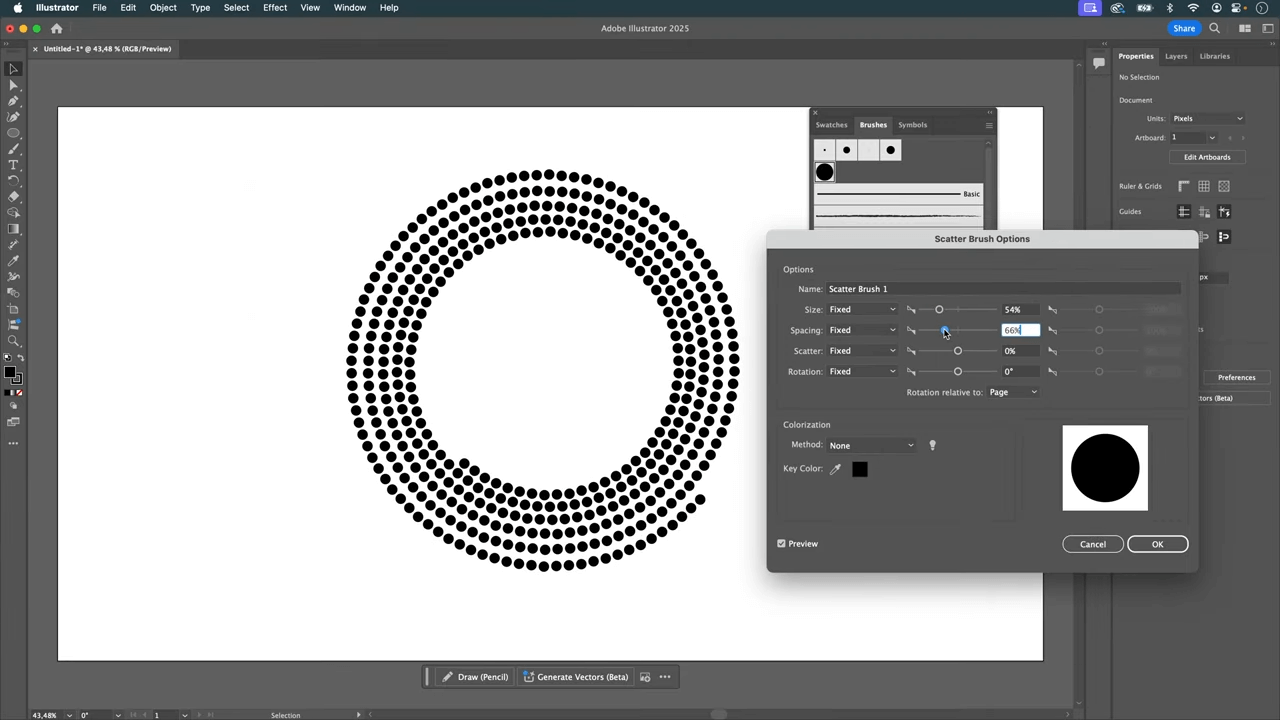
- Use the spiral tool to create a spiral.
- Make a small circle and drag it into the "Brush" panel.
- Select the path and choose the brush you've just created, circles are now distribute along the path of the spiral.
- Adjust the Scatter Brush Options so the circles are the size of the text, with less than the size of a circle between each one.
- Expand the appearance, ungroup, and save this file.

Step 2: Set-up the scene in After Effects
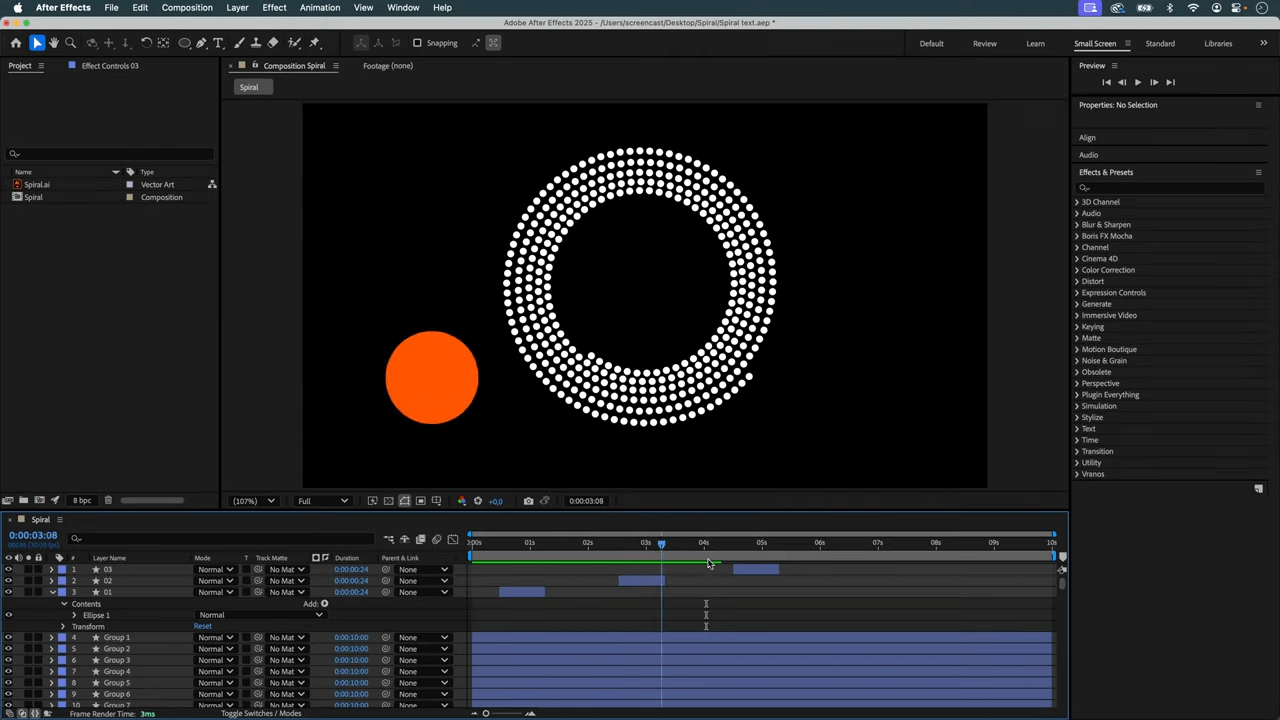
- Import your .AI file into a HD comp.
- Create shapes from vector layers.
- Delete the original spiral footage.
- Launch Newton and use it to separate all the circles in the shape layer, then close Newton.
- Select all your circles and center their anchor points.
- Create the circles that will deform the spiral. Adjust their visibility.

Step 3: Launch Newton.
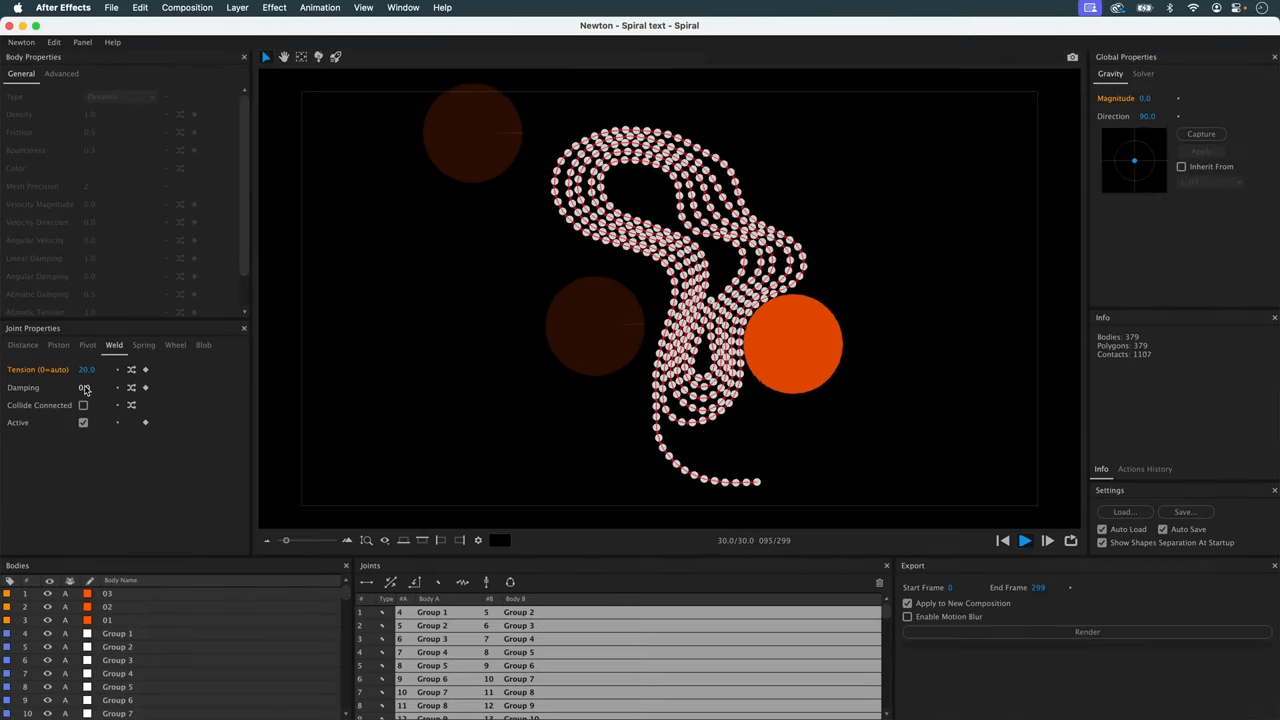
- Set the gravity magnitude to 0.
- Set the sub-steps to 20.
- Using the velocity tool, set the speed and direction for each circle that will collide with the spiral.
- Set their density to 0.1.
- Select all the circles of the spiral (C shortcut).
- Set the linear damping to 1.
- Link them with Weld Joints, then raise the tension of the joints to 15.
- You should have a working simulation at this point. Adjust parameters as needed.
- Render your simulation.

Step 4: Using ConnectLayersPRO to create the animated path.
- Create a dynamic, deforming spiral of text using Newton and ConnectLayersPRO
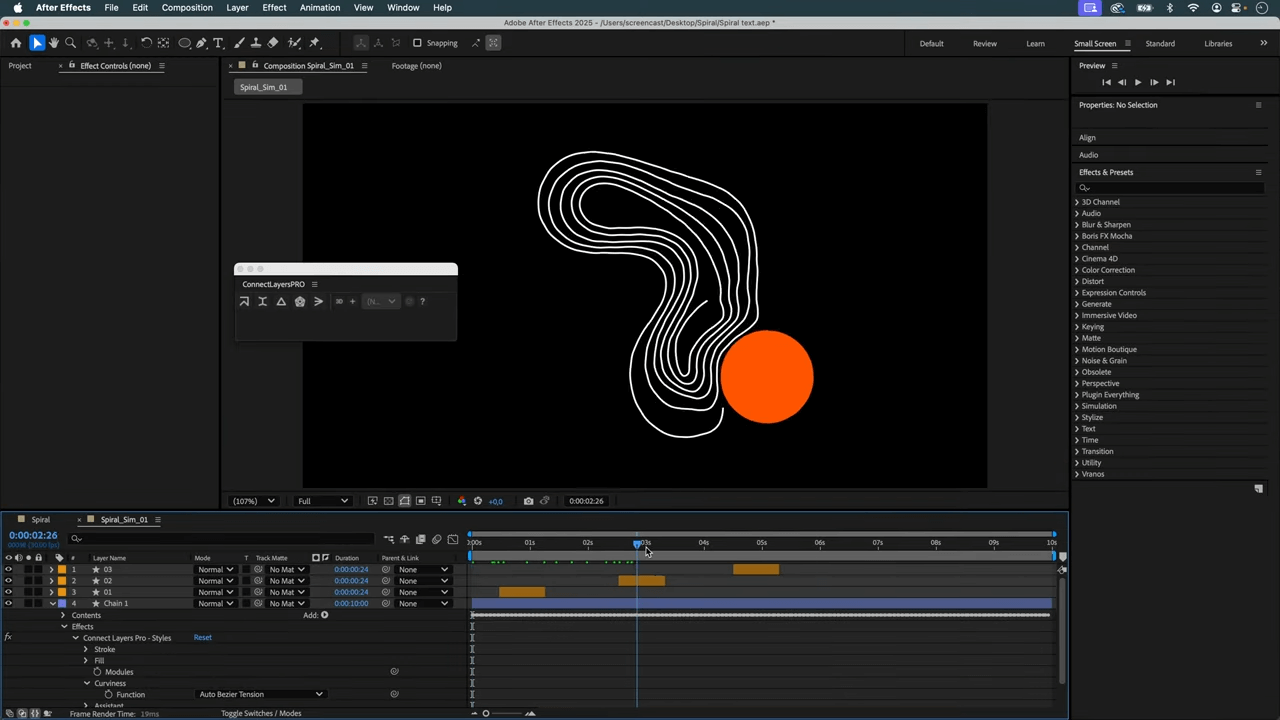
- In ConnectLayersPRO, use the Rope feature.
- In the Effect panel of ConnectLayersPRO, click on the "Curv" button and set it to "Auto Bezier Tension".
- In the Assistant, click "Bake Work Area".
- You can then delete all the circles of the spiral.

Step 5: Animate the text
- Create the text using the text tool.
- Select the text layer and create a mask on it. In Path options, select "Mask 1" in Path.
- In the shape layer created by ConnectLayersPRO, locate the animated path.
- Link the Mask Path to the animated path.
- Set the position of the text to 0,0.
- Adjust the length of your text, remove any excess if necessary.
- In "Animate", add Position.
- Modify this value so that the text is centered on the path.
- Hide the layer created by ConnectLayersPRO.

Conclusion
Well done!


