Inspired by Studio Kiln's work on their campaign for the Royal Television Society RTS Cambridge Convention 2023, we invite you to create a similar rendering using Newton for After Effects and our "PrepareSoftBodies" tool.
Original work by Studio Kiln's
Note: PrepareSoftBodies is installed with Newton 4 if you have used the aescripts manager app. Otherwise, it is available in the Newton 4 archive (including the demo version). This tool is free of charge.
Get Newton for Adobe After Effects : https://aescripts.com/newton
Join our Discord server!
Step-by-Step Guide: Creating Soft Body Typography with Newton in After Effects
When working with motion design, achieving organic and fluid deformations can be challenging. In this tutorial, we will explore how to create soft body typography using the Newton plugin in After Effects.
Step 1: Setting Up the Scene
- Open After Effects and create a new composition with the following settings:
- Resolution: 1920x1080
- Frame Rate: 30fps
- Duration: 20 seconds
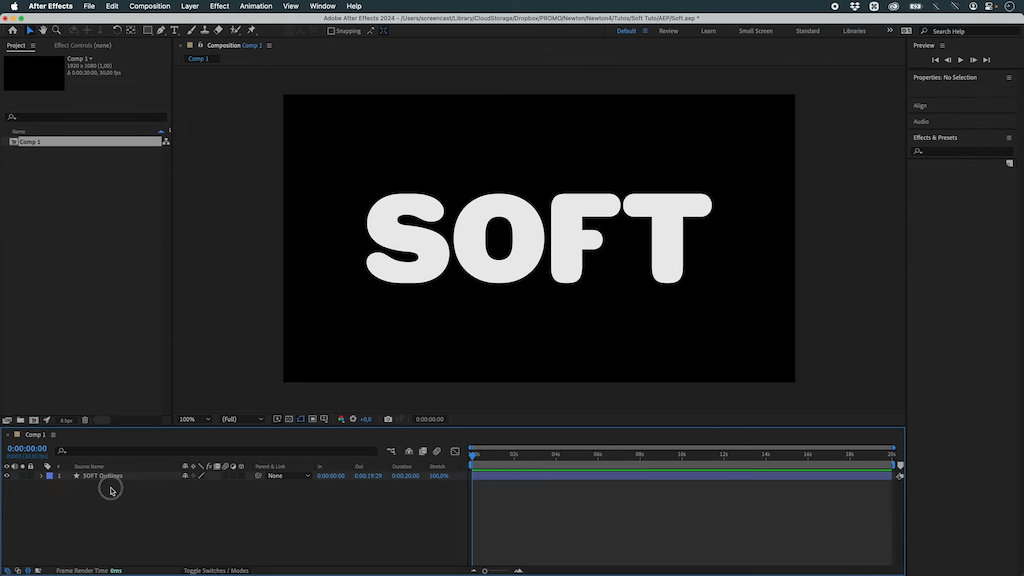
- Create a text layer and type your desired text.
- Use the HWT Gothic Round typeface (available from Adobe).
- Convert the text layer into a Shape Layer (Right Click > Create Shapes from Text).
- Delete the original text layer, as it's no longer needed.
Step 2: Preparing Soft Bodies in Newton
Newton does not inherently support soft bodies, but we can achieve the effect using the PrepareSoftbodies tool.
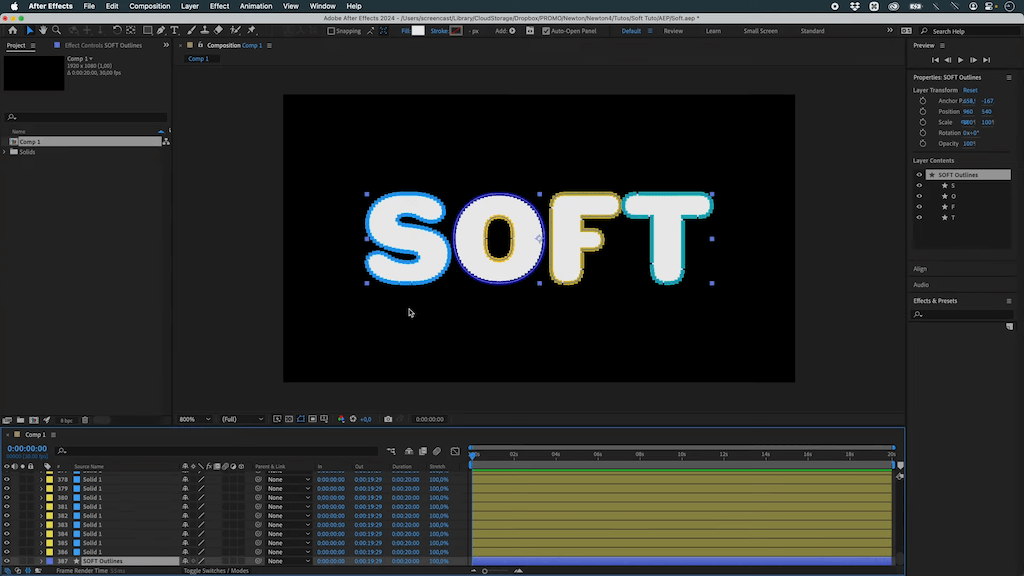
- Select your shape layer.
- Open the PrepareSoftbodies tool.
- Set the vertex distance to 15 pixels.
- This will create 15x15 solids, controlling the vertices of the paths.
- Click Prepare for Newton to generate the necessary objects.
- Move the generated objects slightly to see that they distort the path, confirming that the soft body effect is in place.
Step 3: Optimizing for Smooth Simulation
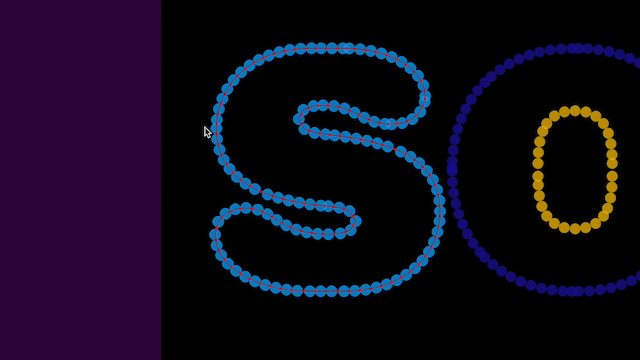
- Apply a circular mask to each object.
- Copy the mask and paste it onto all objects.

Step 4: Creating and Animating Walls
- Create rectangular walls for the top, bottom, and sides.
- Duplicate the walls to ensure full containment.
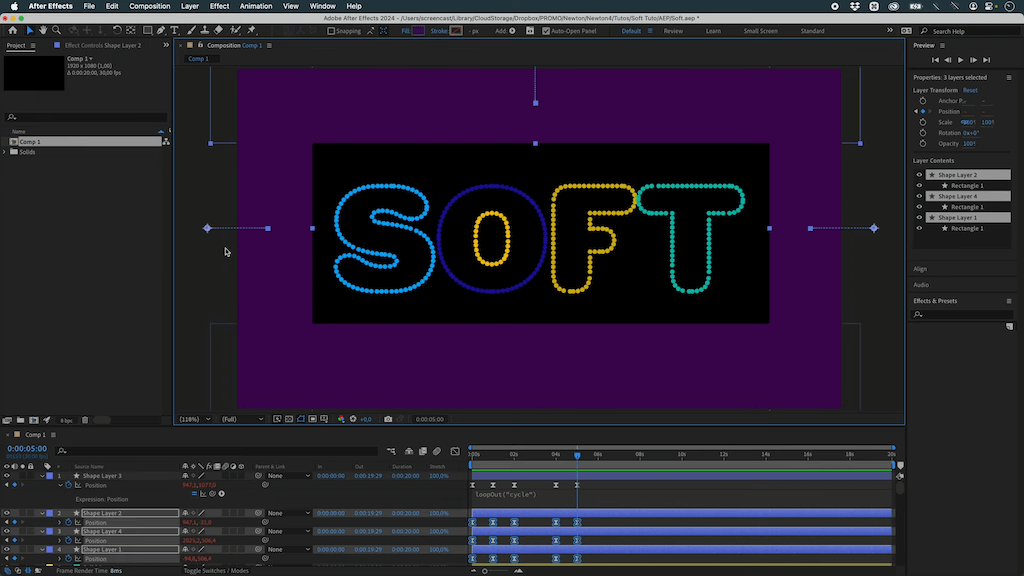
- Animate the walls:
- At 1 second, they remain in the same position.
- At 2 seconds, they contract inward.
- Leave them static for 2 seconds.
- Animate them back to their original position.
- Apply a looping animation using the following expression: loopOut("cycle")
- Copy and paste this expression onto all walls.
Step 5: Setting Up Newton Physics
- Open Newton.
- Disable Gravity in the Solver settings.
- Increase Sub-Steps to 30 for better accuracy.
- Select all walls by color (Press C), then set them to Kinematic to retain their animation from After Effects.
For the soft body objects:
- Select the control points and apply Weld Joints.
- Reduce friction for smoother movement.
- Adjust the Weld Joint settings:
Step 6: Refining the Simulation
Some letters, such as 'O', may not behave as expected. To fix this:
- Select the overlapping points and use Piston Joints to link them.
- Apply Piston Joints to problematic areas (e.g., 'T' and 'F') for better deformation.

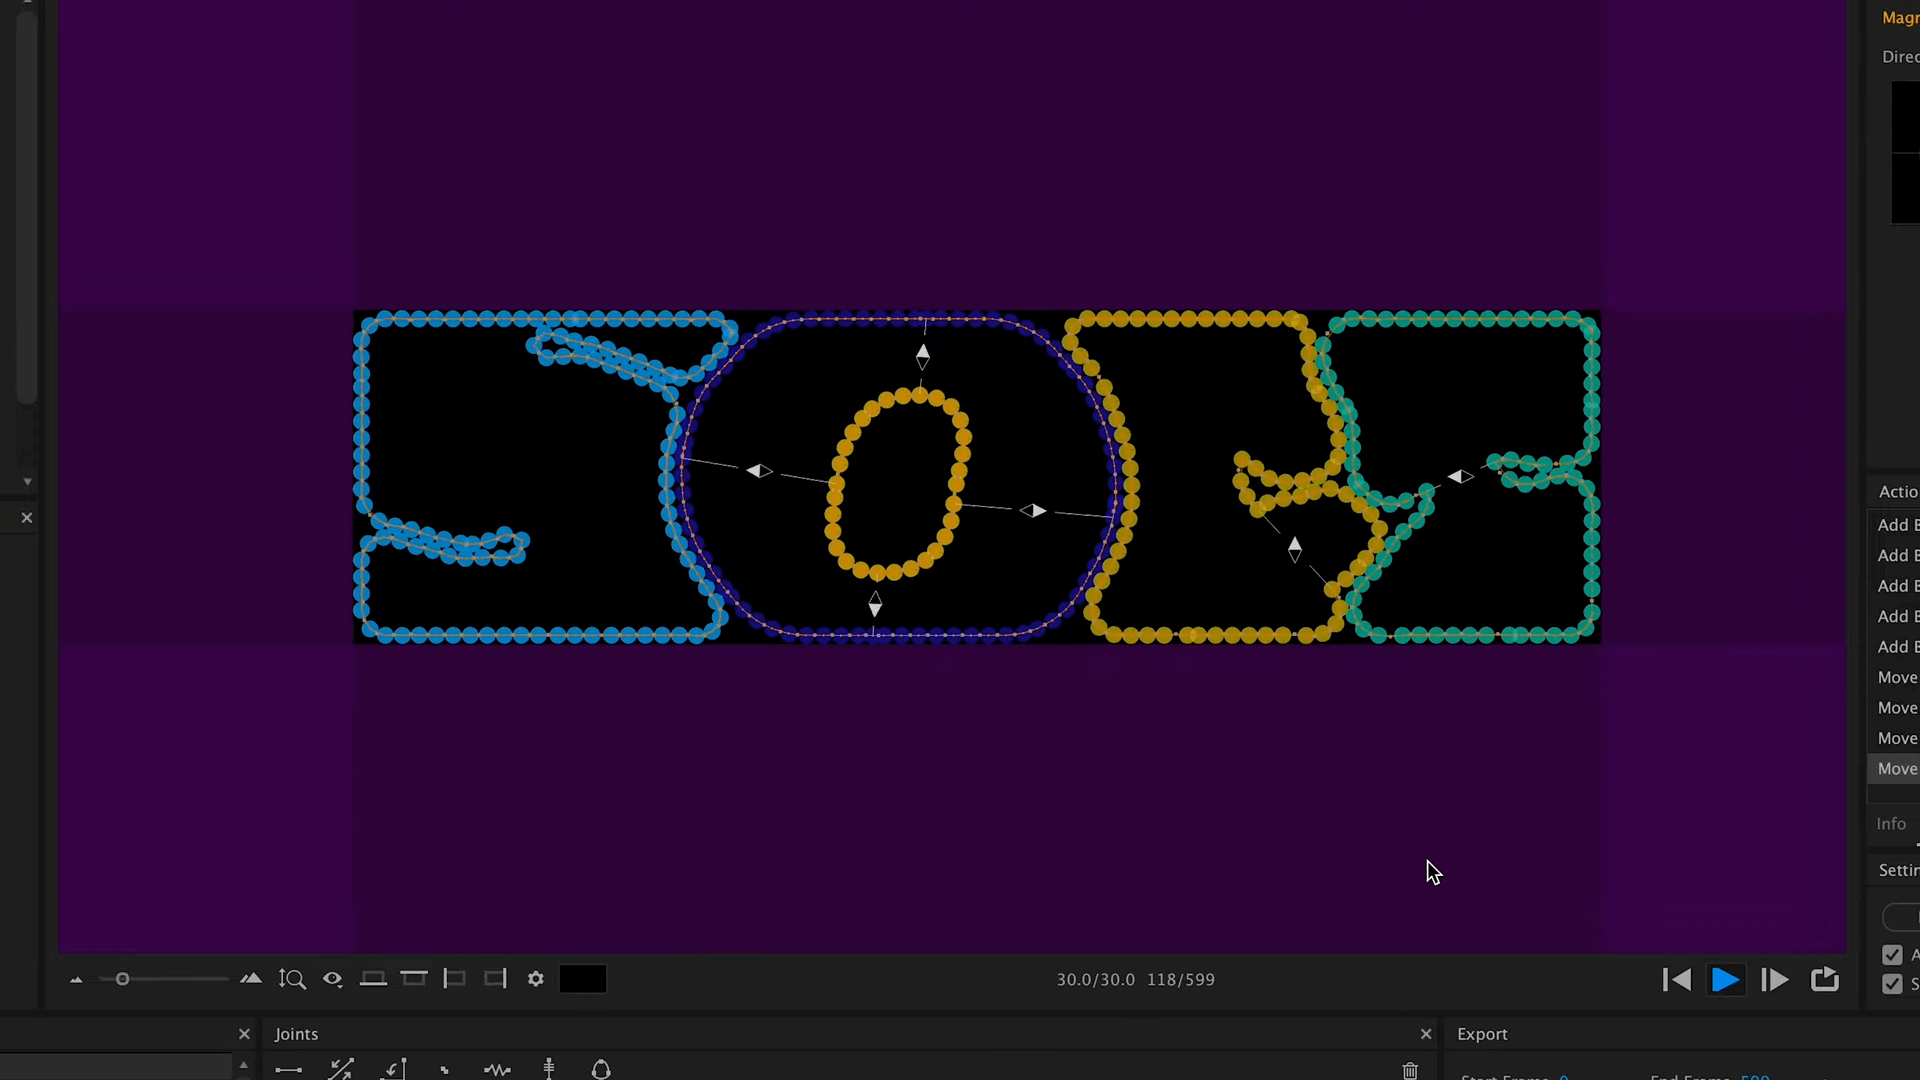
Step 7: Adding Blob Joints for Volume Preservation
- Select objects by color.
- Apply Blob Joints.
- If letters appear too compressed, adjust the wall spacing.
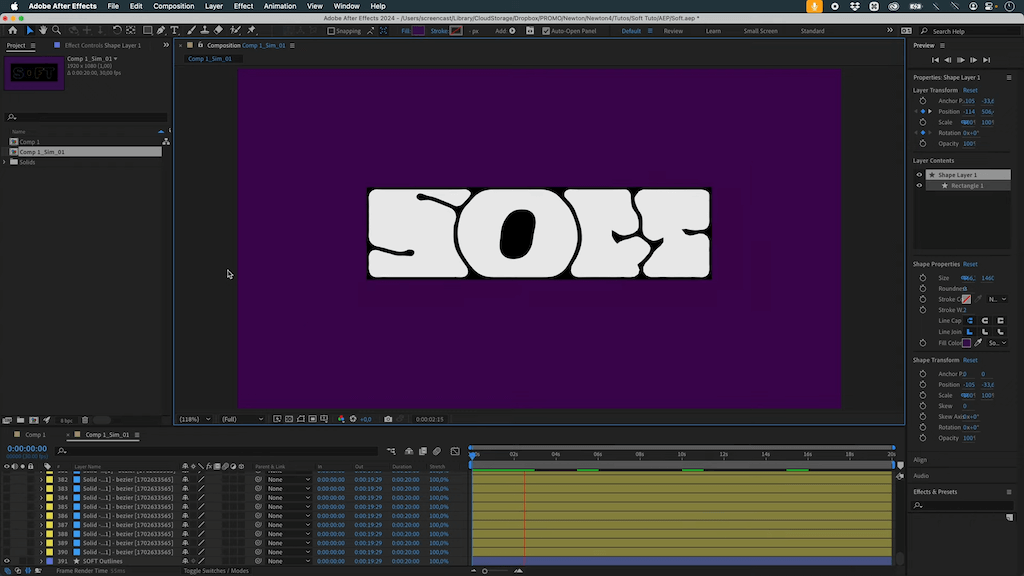
Step 8: Finalizing the Animation
- Press Render in Newton to create a new composition (SIM_01).
- Hide the simulation layers and reveal the original outline.
- Enhance the look by:
- Adding a stroke matching the letter color.
- Applying the Round Corner effect for smoother edges.
Conclusion
By following these step-by-step instructions, you can create realistic soft body typography in After Effects using Newton. With additional refinements, such as strokes and rounded edges, the final animation achieves a polished and fluid motion effect.