In this After Effects tutorial, we'll learn how to rig and animate a monster truck with a complex rig for the Suspensions using our powerful physics engine, Newton.
Get Newton for Adobe After Effects : https://aescripts.com/newton
Join our Discord server!
We'll start by preparing our truck in After Effects, then head into Newton to set up our simulation. We'll also use ConnectLayersPRO to visualize the suspensions in AE.
Download the AEP (AE 2024 and above) to visualize the spring here
This tutorial is perfect for motion designers looking to add realistic physics to their animations. Whether you're new to Newton or an experienced user, you'll find valuable tips and techniques to help you create stunning animations.
Step-by-Step Guide
Step 1: Preparing the Composition
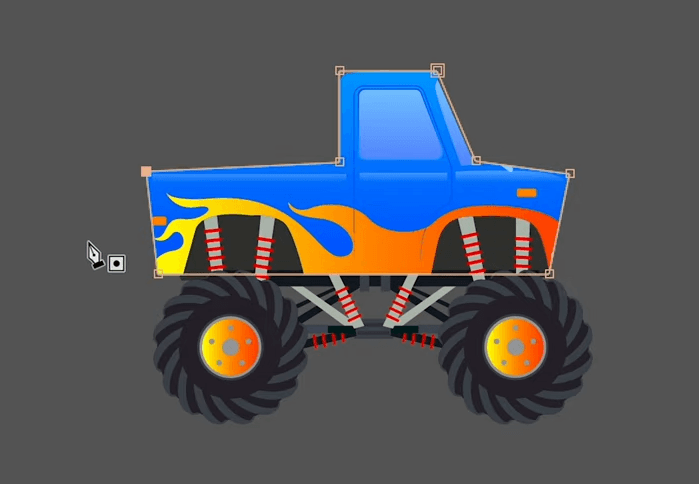
Start by importing all the necessary elements into a 1920x1080 HD composition at 30 FPS. Organize the layers properly:
- Wheels on separate layers
- Car body on another layer
- Shock absorber elements in their respective layers
- Floor as a shape layer to define the terrain
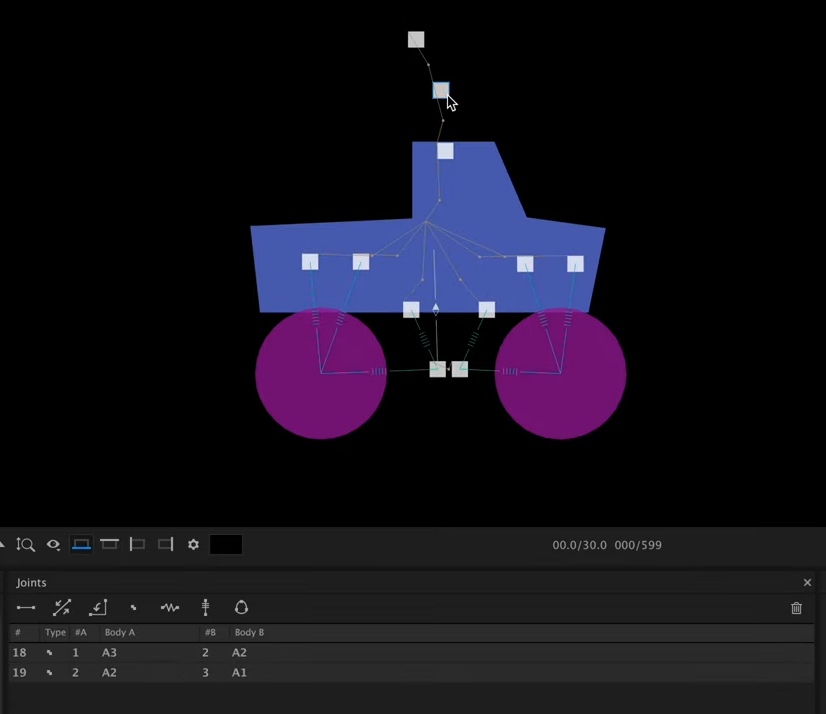
To simulate suspension, add null objects at key points where the shock absorbers connect to the wheels and the car body. Label them accordingly for easier reference.
Step 2: Setting Up Newton
Launch Newton and configure the elements:
- Static objects: Set the floor as static.
- Dynamic objects: Ensure wheels and the car body are dynamic.
- Collision groups: Remove suspension joints from Group A to avoid unwanted collisions.
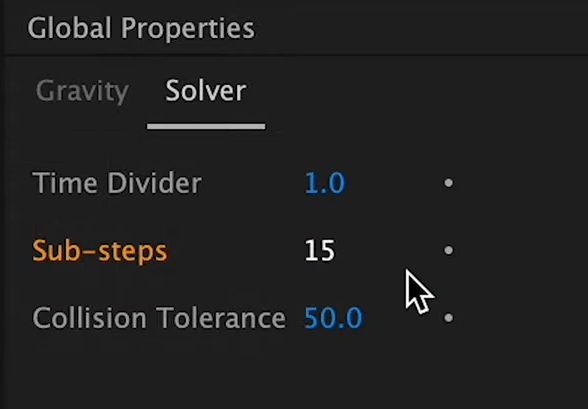
Increase gravity to 30, adjust solver substeps to 15, and tweak damping settings to enhance realism.
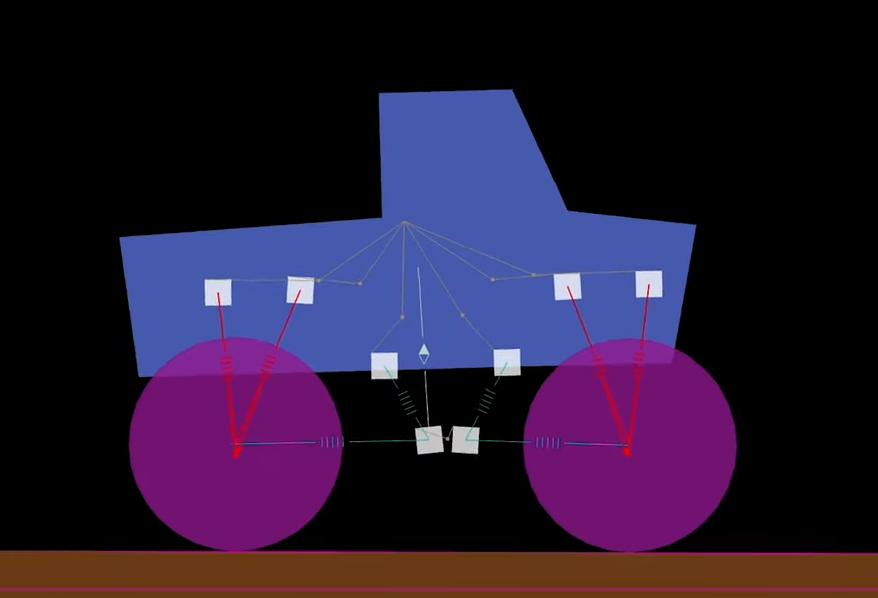
Step 3: Rigging the Shock Absorbers
To properly simulate the suspension system:
- Use Wheel Joints to attach the wheels to the body.
- Apply Weld Joints to secure key elements together.
- Use Piston Joints for the shock absorbers, constraining movement in one direction.
- Adjust suspension stiffness and damping to fine-tune the response.
- Experiment with different stiffness levels for a balance between realism and flexibility.
Step 4: Animating the Vehicle Movement
To make the truck move:
- Activate motor joints on the wheels.
- Set the motor speed to 10 with high torque.
- Increase wheel friction for better grip.
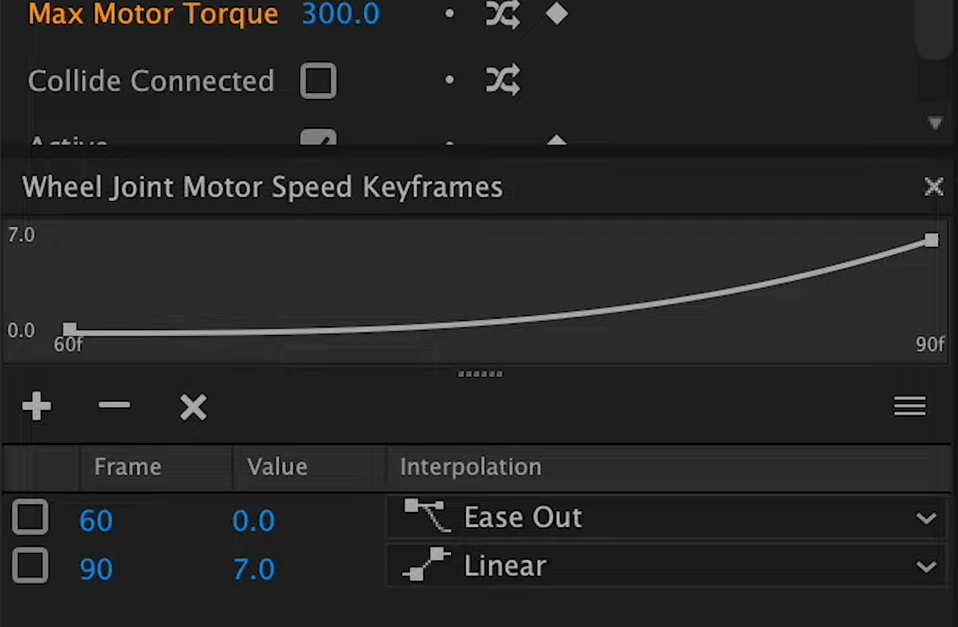
- Use keyframes to animate acceleration, starting at 0 speed at frame 60, increasing to 7 at frame 90 with an ease-out curve.
Step 5: Adding a Wiggly Antenna
For extra realism, create an antenna using null objects and Connect Layers Pro:
- Arrange three nulls in an arc.
- Use Weld Joints to connect them in Newton.
- Adjust tension and damping for flexible motion.
- Keep the base rigid to maintain stability.
- Tweaking these parameters ensures a realistic swaying motion.
Step 6: Refining the Animation in After Effects
Once the simulation is done, re-import it into After Effects:
- Remove masks to reveal all elements.
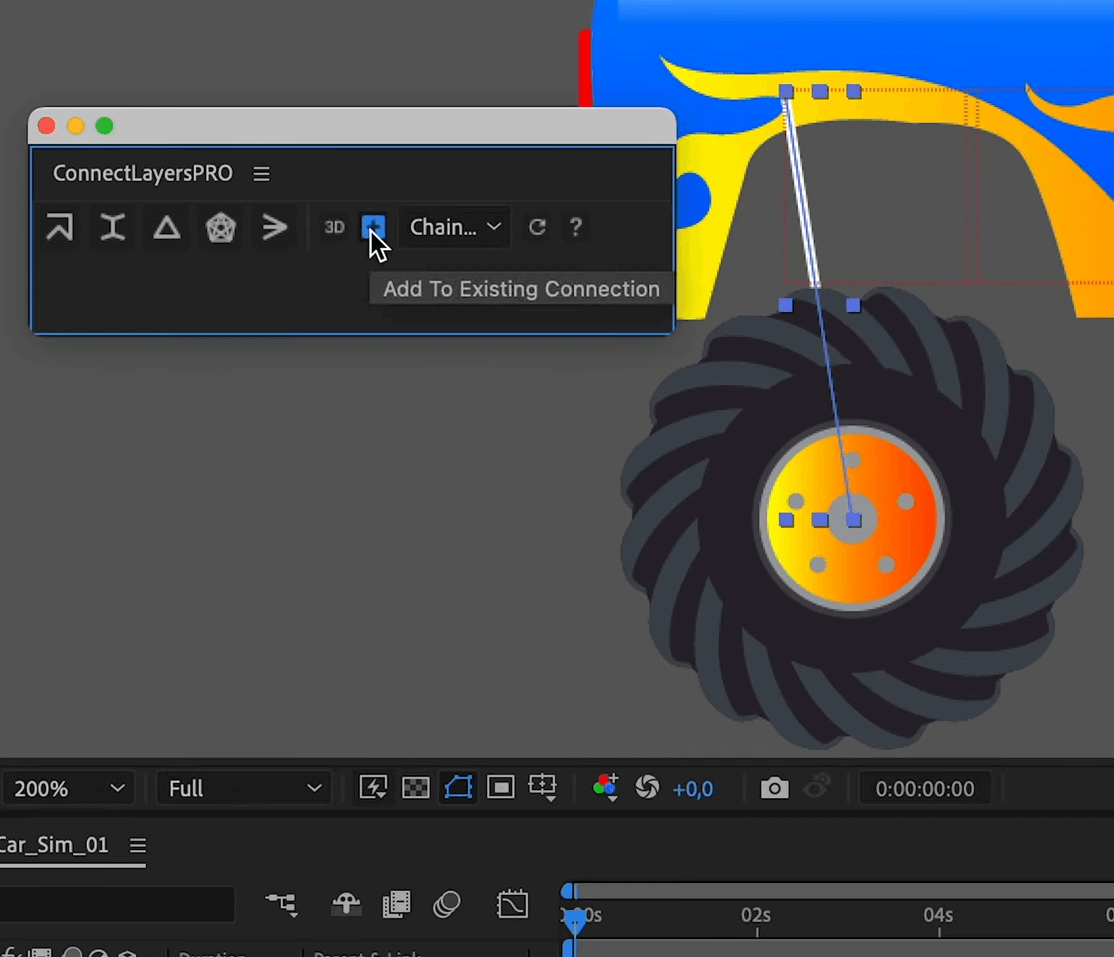
- Use Connect Layers Pro to link the shock absorbers dynamically.
- Group and adjust the thickness and color of suspension elements.
Step 7: Adding Realistic Springs
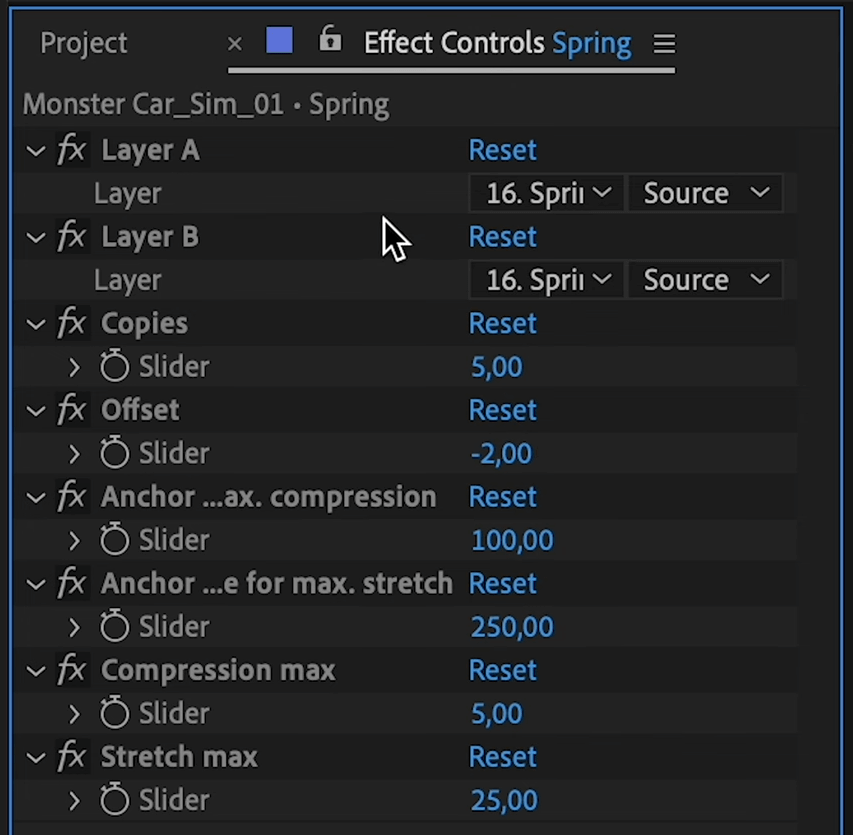
To simulate shock absorber springs, use our AEP that:
- Requires two reference layers (e.g., rear wheel and suspension point)
- Auto-generates a dynamic spring between them
- Adjusts offset for visibility
Final Result
With all elements rigged, animated, and refined, the final animation is a realistic monster truck with working suspensions, accurate physics, and a dynamic antenna.
This technique opens the door to more advanced vehicle simulations in Newton, so keep experimenting and refining your skills!
