Learn how to rig a car easily in Newton for Adobe After Effects and create a dynamic animation! 🚗💨
In this tutorial, you'll learn how to create a realistic car animation using Newton.
We'll cover everything from setting up the scene to rigging the wheels and adding suspension.
You'll also learn how to create a dynamic start-up sequence and even simulate the spilling of objects from the car's baskets.
Step-by-Step Guide
Step 1: Setting Up the Composition
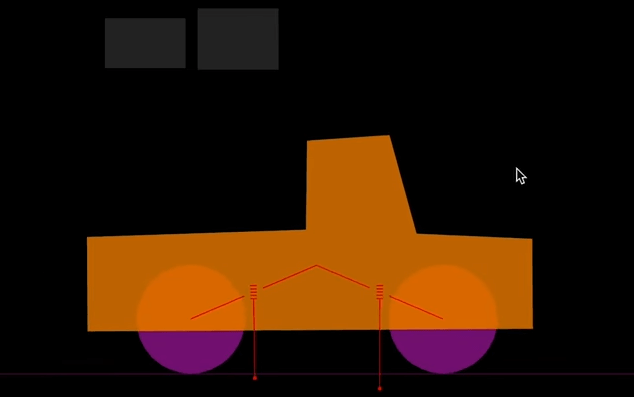
- Create a new composition in After Effects and import your vehicle elements (body, wheels, baskets).
- Duplicate the wheels and create masks for visualization in Newton.
- Set the transfer mode to "none" for masks.
Step 2: Configuring Newton
- Send your elements to Newton and set up the scene with a floor and wheel joints.
- Adjust gravity, solver sub-steps, and damping for realistic physics.
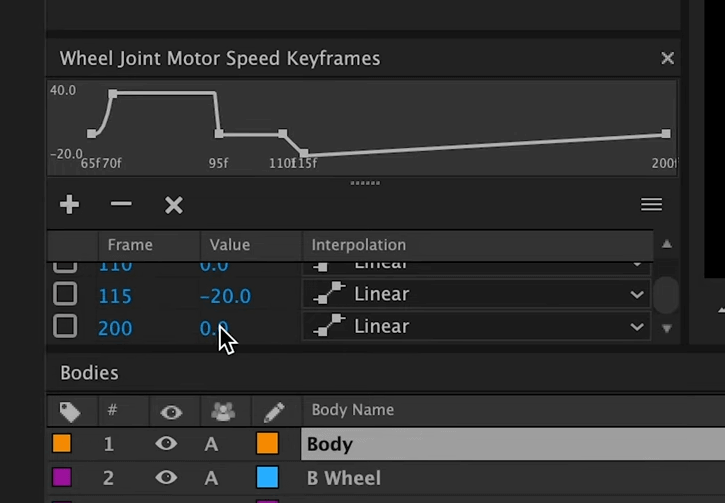
- Use wheel joints to create suspension and motor effects for the wheels.
Step 3: Animating the Vehicle
- Animate the motor's rotation speed and torque to control the vehicle's movement.
- Add angular velocity for realistic rotation and adjust friction for better grip.
- Use keyframes to control the timing of the motor's activation and deactivation.
Step 4: Adding Details
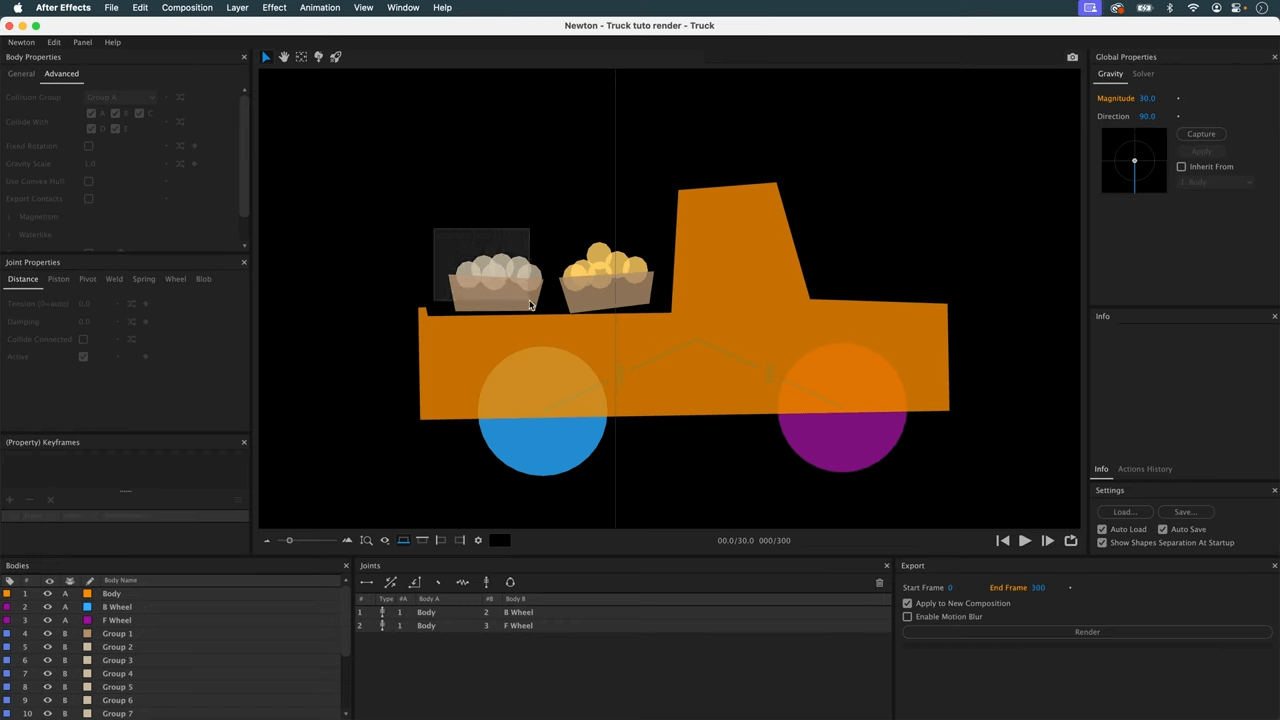
- Create a trunk effect using masks to keep baskets inside the vehicle.
- Add shadows and track mattes to enhance the visual realism.
- Animate the baskets to simulate objects spilling out upon impact.
Step 5: Final Touches
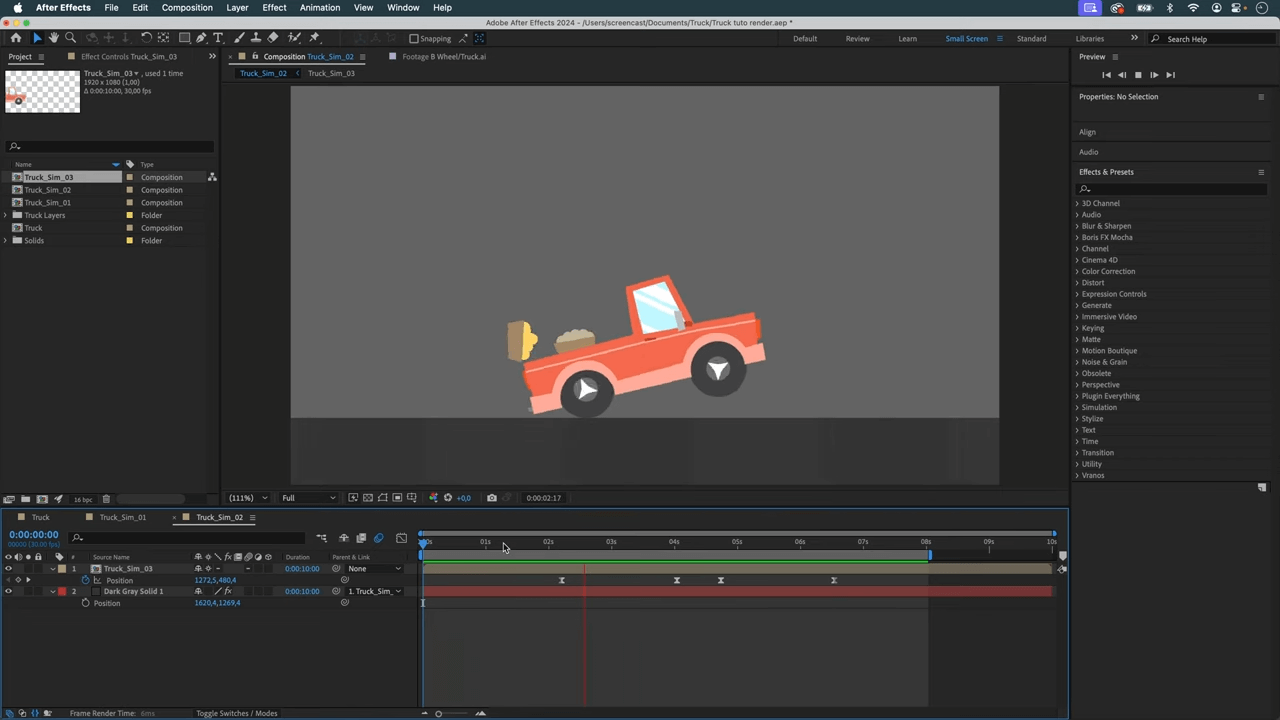
- Render the animation and place it in a new composition for better tracking.
- Adjust the simulation to include stopping, reversing, and braking effects.
- Use collision groups to manage interactions between objects and the vehicle body.
Conclusion
Your vehicle animation is now complete!
