
Welcome to this short tutorial on how to build a logo or text based on a 3D image grid in After Effects using Pastiche (and other tools). Follow these steps to create this captivating animation:
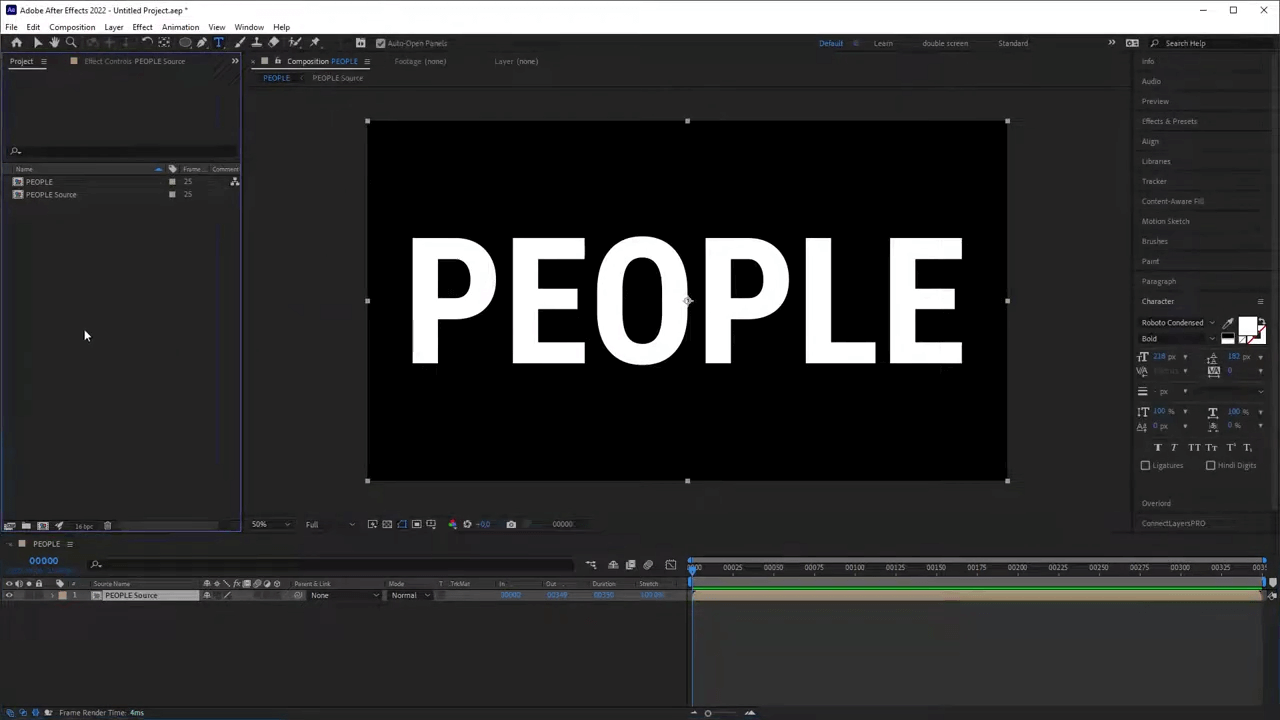
In After Effects, start by creating a composition and add your text and precompose it.
Import your images into After Effects. The size and format of the images don't matter; they can be videos or a mix of both. You don't need to choose specific formats. Simply drop them in your composition.

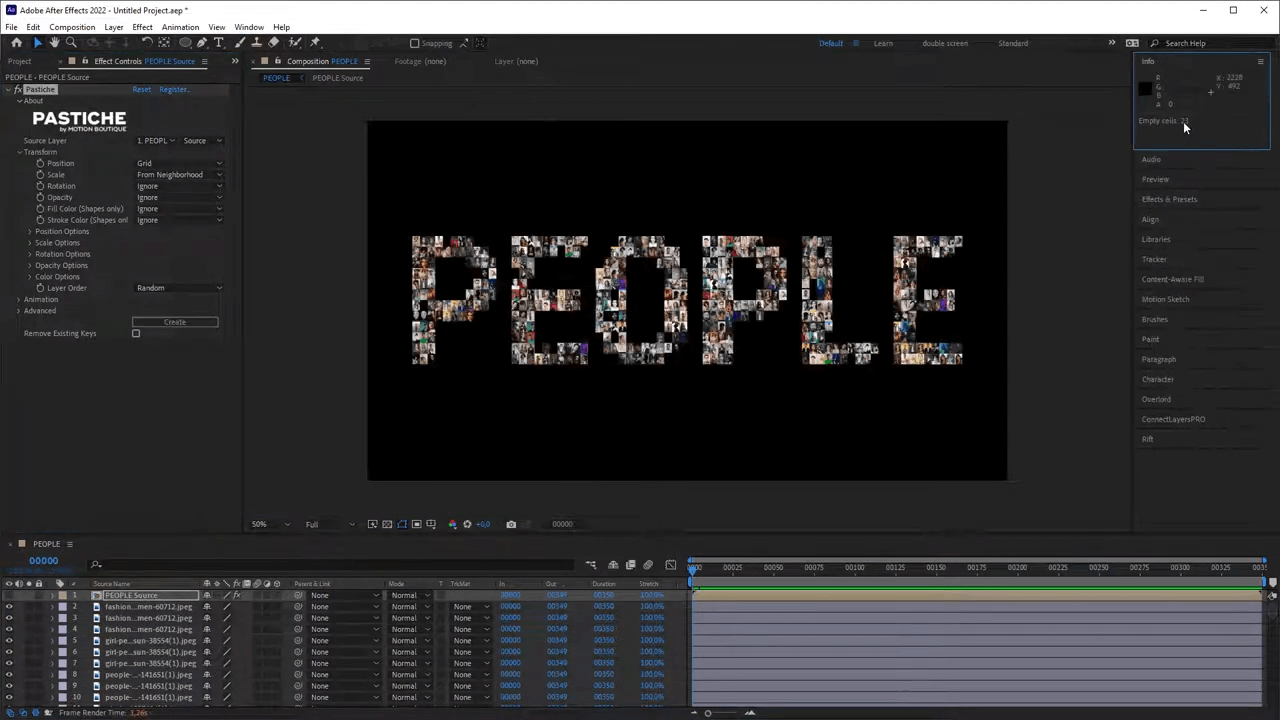
Apply the Pastiche plugin to your precomposed text layer. In the Position settings, choose "Grid." At the bottom, in the Layer Order settings, select "Random." Click on "Create." If you're not satisfied with the layout, click "Create" again to generate a new arrangement. You can also duplicate the images to create a finer grid.
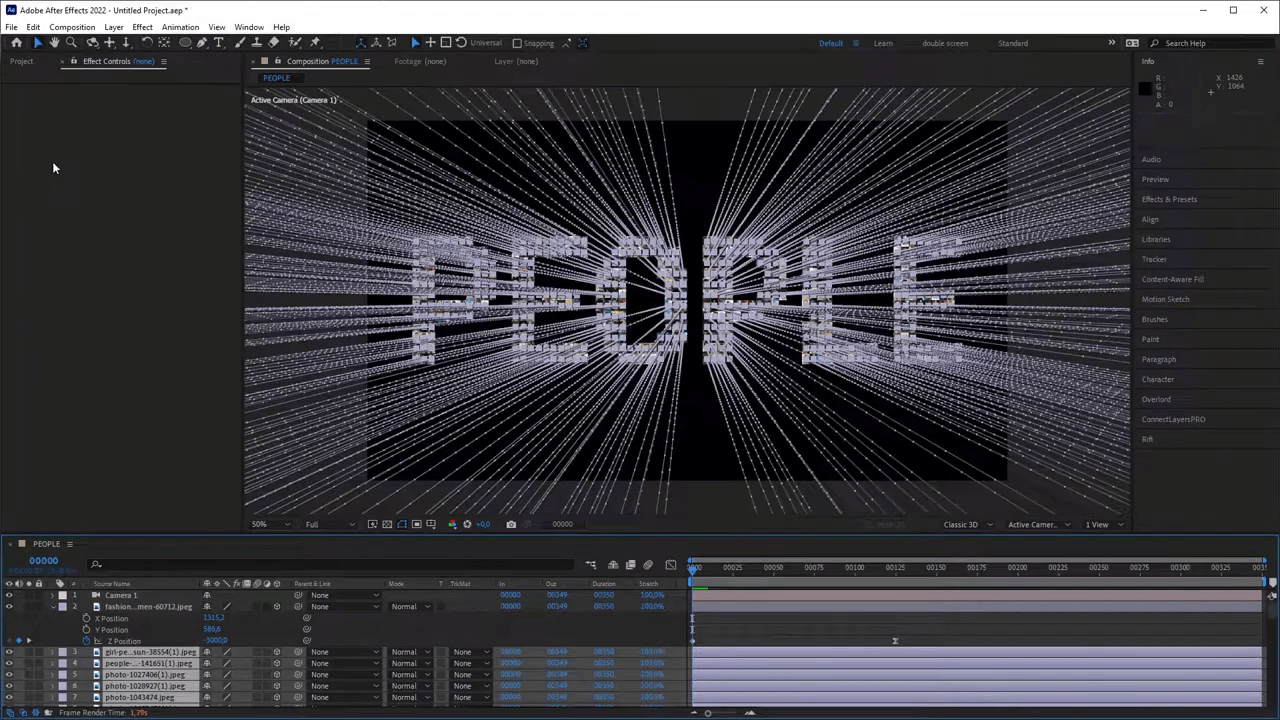
Set the position of the layers to "Separate Dimension." Animate one layer on the Z-axis. Copy and paste this animation to the other layers. Now, all layers should move in depth and return to their original position.
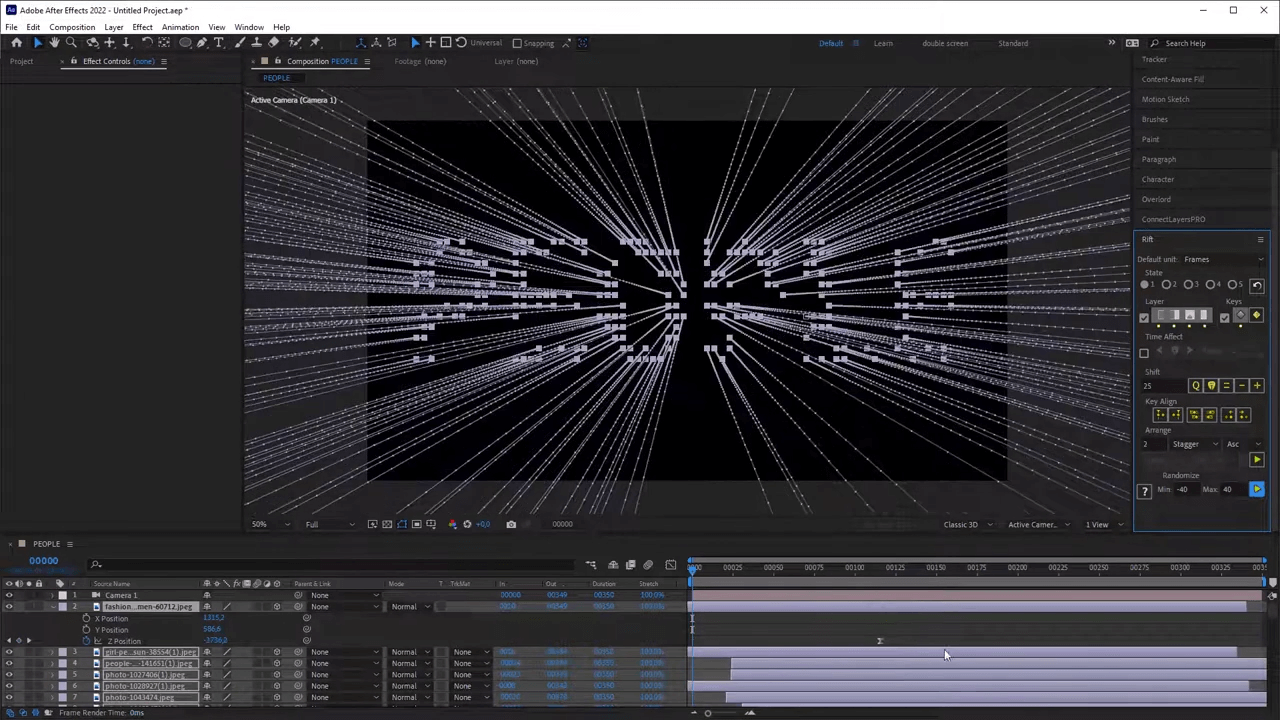
Using a script or manually, desynchronize the animation of the layers to create a more dynamic effect.
Finally, create a camera and animate it if desired. This will add depth and movement to your 3D image grid animation.

That's it! You've now created a dynamic logo or text animation based on a 3D image grid using Pastiche and other tools in After Effects. Have fun experimenting with different images and settings to create unique and captivating animations. Stay tuned for more tutorials and updates. Follow us on social media for the latest tips and tricks on using Pastiche and other After Effects tools. Happy animating!